Connect two Web of Things devices with Node-RED
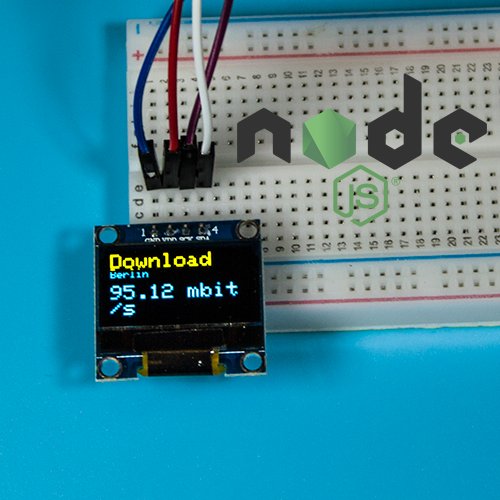
Use Node-RED, Arduino, and Web of Things to easily connect two wireless devices. The OLED display shows the temperature of a sensor placed outside.
Prerequisites #
- Windows (with WSL 2), Linux or MacOS
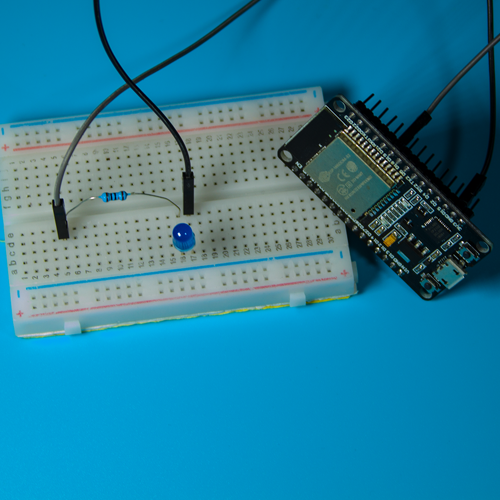
- Web of Things temperature sensor
- Web of Things OLED display
- Installed git
- Installed Insomnia or another REST Client
Get Node-RED #
Clone the repository
The flow is written in Node-RED, therefore we need to get Node-RED. We clone the repository with the following command
git clone https://github.com/node-red/node-red.git
cd node-red
Initialize Node-RED
After the cloning is done and we changed into the cloned Node-RED directory we need to initialize Node-RED and install all default dependencies. We can do that with the following command
npm install
Install WoT discovery module
In order to use Web of Things in our Node-RED flows, we have to install the WoT discovery module for Node-RED. Execute the following command
npm i node-red-contrib-wot-discovery
Build Node-RED
Before we can start Node-RED, we have to build all static assets. We can do that with this command
npm run build
Run Node-RED
We installed all necessary dependencies in order to run our first Web of Things flow in Node-RED.
We can now run the Node-RED instance with npm start
This should start the server on port 1880. Open your web browser and open the page http://127.0.0.1:1880/
You should be able to see the Node-RED web interface.
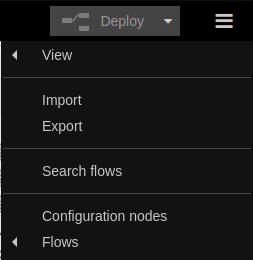
Import the flow #
Import the Get & Display Temperature flow into your Node-RED instance. You can do so by clicking on the burger menu in the top right corner.
Once imported, the flow should like this

Replace OLED display IP
In order to make it work with your local setup, you have to change the IP address of the device with the OLED display.
In case you do not know the IP address of the device with the OLED display, just connect the device to your computer and open the serial monitor in the Arduino IDE.
The serial monitor is available under Tools → Serial Monitor.
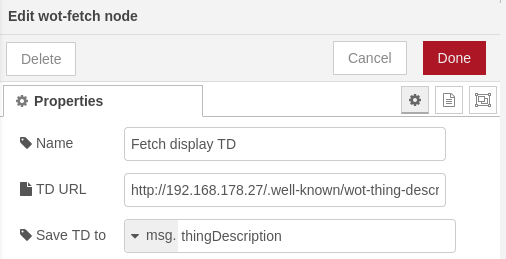
Go into the web interface of Node-RED and double click on the node with the name Fetch display TD.
Insert the following URL in the field TD URL http://[YOUR_IP]/.well-known/wot-thing-description. Replace [YOUR_IP] with the IP address of your device.
When you are done, click on the button labeled Done.
Replace temperature sensor IP
We have to do the same for the temperature sensor. Get the IP address of your temperature sensor node.
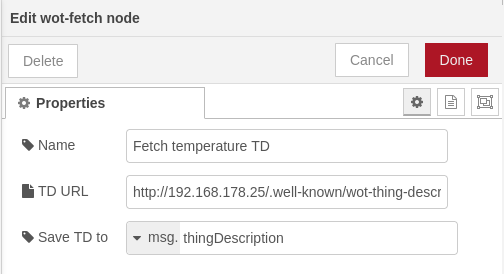
Double click on the node with the name Fetch temperature TD.
Again you have to insert http://[YOUR_IP]/.well-known/wot-thing-description. This time you use the IP address of your temperature sensor.
Save this configuration by clicking on the done button.
Deploy the changed flow
We haven’t saved all changes yet. In order to do that we need to click on the button in the right corner labeled Deploy.
After doing this the flow is updated and the changes immediatly take effect.

Run the flow #
Our flow is deployed and we should be able to execute it. The flow gets triggered via an external HTTP GET Request.
So, you have to open your REST Client (Insomnia for example) and create a new collection.
You can just call it Node RED or something similar.
Create a new HTTP GET Request in your collection. You can call it trigger flow or something like this.
Insert the following URL for the Request http://127.0.0.1:1880/triggerDisplay.
When successful you should be able to see the temperature on your OLED display. There should also be a response from the server in your REST Client. The response should look something like this
    {
      "display": {
        "input": {
          "headline": "Weather",
          "subheadline": "Temperature",
          "body": "22.73 C"
        },
        "status": "created",
        "timeRequested": "1970-01-01T00:00:00+00:00",
        "href": null
      }
    }